Development of AO NPF GITAS with PAO GAZPROM
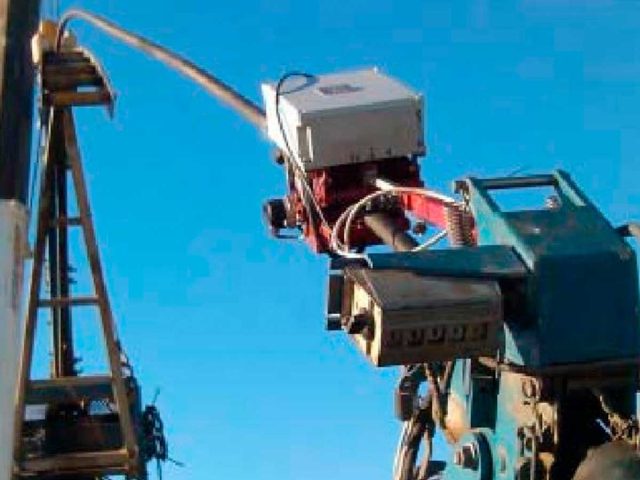
is used for inspection of coiled tubings (CT) technical condition in units.
DEFECTOSCOPE-COILED-TUBING allows
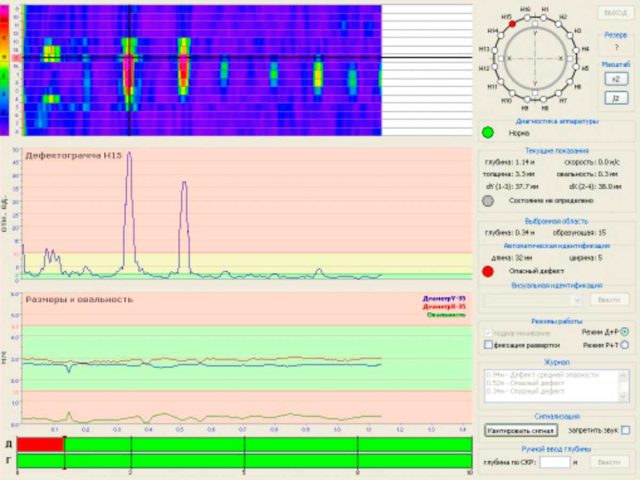
- displaying internal and external defects of CT in real-time;
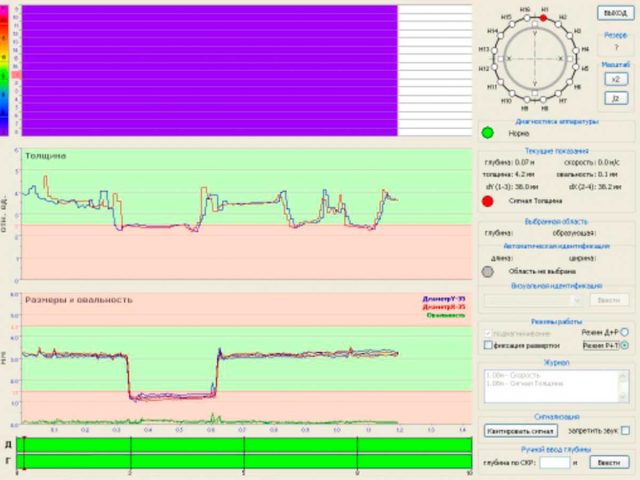
- measuring and displaying diameter, out-of-roundness and average thickness of CT;
- informing an operator about critical defects and exceeding the permissible deviations of the measured parameters;
- indicating dangerous changes of coiled tubing condition in time and decrease the risk of crashes;
- accumulating results and displaying integral characteristics of CT.
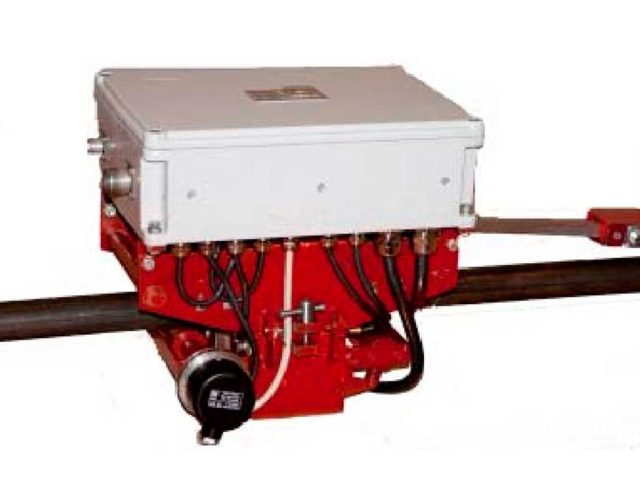
Apparatus includes
- sensor unit with integrated unit of signal processing (there are options for CT diameters from 30 to 45 mm);
- device for anchoring of a sensor unit to CT unit;
- emergency alarm unit;
- laptop with technological software.
Basic advantages
- folding design of sensor unit allows fixing and removing it without necessity of CT lifting and dismantling of injector;
- high acceptable speed of CT motion (up to 0.8 m/s) allows providing inspection not affecting on technological operations;
- high resolution of measurement (2mm) allows detecting defects at the early stage of their development;
- usage non-contact method of measurement allows to reduce the number of wearing parts and prolong the life of the system;
- low power consumption (~120W) allows you to power the system from an on-bort electrical power outlet of CT unit;
- interface with measuring instrument of immersion depth of CT allows organizing integrated relation of measurement results to depth;
- technological software allows displaying data of measurement in real-time on screen of laptop, changing operating modes of system and input commentaries according to estimation of defects;
- opportunity of system adaptation to CT made from various alloys, can improve the accuracy of the measurements;
- usage of vibration resistant laptop with extended temperature range allows placing it in operator's cab;
- self-testing and automatic control of fixing integrity allows giving signal to operator in case of operation disturbance of system.
Specifications
| design of sensor unit: | folding |
| principle of measurement: | electromagnetic (non-contact) |
| diameter of coiled tubings, mm: | from 30 to 45 ( one sensor unit for one diameter) |
| maximum thickness of coiled tubing wall, mm: | up to 5 |
| speed of coiled tubings trip, m/s: | up to 0.8 |
| acceptable steel grade of coiled tubings: | ferromagnetic |
| measurement interval, mm: | ~2 |
| the number of sensors: | 16 |
| detectable defects: | internal, external buckles and cavities; cross and inclined cracks with thickness 0.1 mm, length from 10 mm; flaws with diameter from 1 mm |
| the number of sensors of external diameter measurement: | 4 |
| range of out-of-roundness measurement, mm: | from 0 to 3 |
| accuracy of out-of-roundness measurement, mm : | ±0.2 |
| frequency of measurement of average wall thickness, Hz: | 10 |
| accuracy of measurement of average wall thickness, mm: | ±0.5 |
| supply voltage from storage battery, V: | 24±4 |
| power consumption of sensor unit, W : | less than 60 |
| power consumption of laptop, W: | less than 60 |
| range of sensor unit operating temperature, °C: | from -40 to +50 |
| dimensions of sensor unit, mm: | 340x300x260 |
| weight of sensor unit, kg: | less than 20 |
| length of connecting cable from sensor unit to laptop, m: | 50 |


